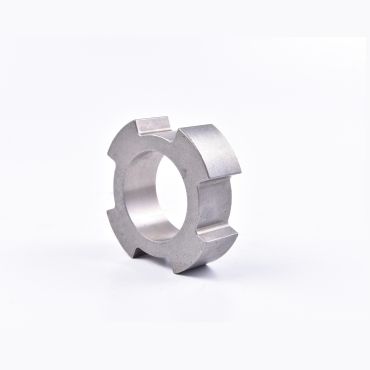
JH MIM Automotive Gear Manufacturers
Each car typically has between 18 and 30 teeth, and the quality of the gear directly impacts the car’s noise level, smoothness, and lifespan. Gears are the primary basic transmission components in the automotive industry. The powder metallurgy process can produce gear in large quantities, ensure the quality of gear and reduce the project cost.
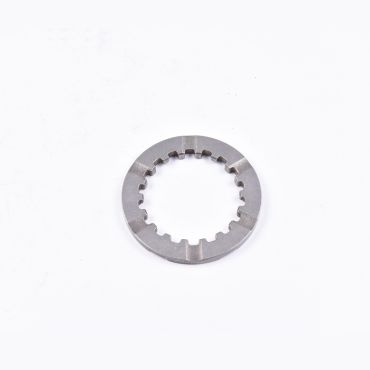
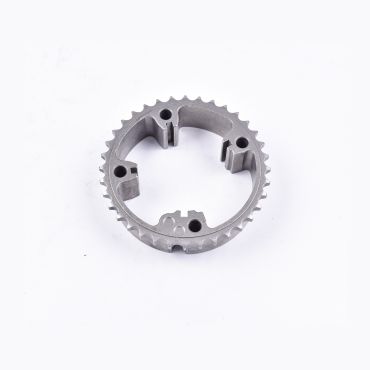
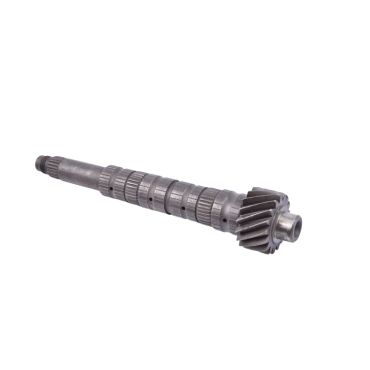
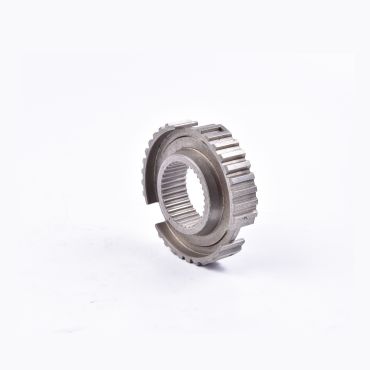
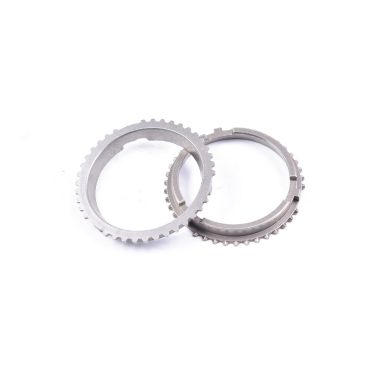
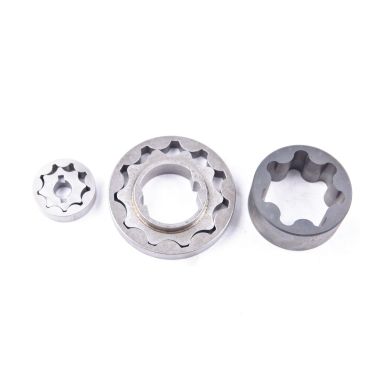
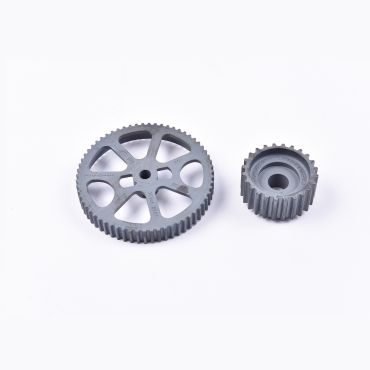
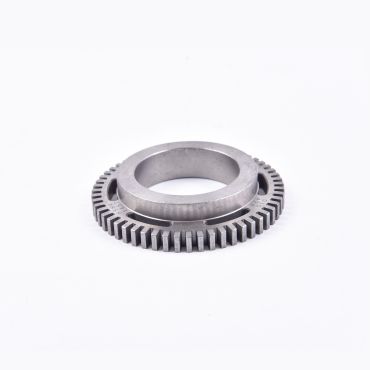
JH MIM provides high-precision automotive gears to automotive suppliers worldwide, including: automotive engines; Camshaft, crankshaft timing pulley, water pump, oil pump pulley, driving, driven gear, driving, driven sprocket, CAM, bearing cover, rocker arm, bushing, thrust plate, valve guide, inlet and exhaust valve seat automotive gearbox; All kinds of high and low speed synchronizer tooth hub and components, clutch gear, CAM, camshaft, slider, shift rod, shaft sleeve, guide block, synchronous ring motorcycle parts: Driven gear and components, sprockets, starting ratchet, ratchet, star wheel, double gear, auxiliary gear, change gear, push rod CAM, shaft sleeve, sliding bearing, centerpiece sleeve, driven disc, inlet and exhaust valve seats Automobile, motorcycle oil pump: All kinds of oil pump gear, tooth hub, all kinds of oil pump rotor, CAM ring automobile, motorcycle shock absorber piston, bottom seat, guide seat compressor piston, cylinder block, cylinder head, valve plate, sealing ring agricultural machinery products all kinds of shaft sleeve, rotor, bearing other: distributor gear, planetary gear, internal gear disc, combined internal gear, all kinds of stainless steel nuts, magnetic pole.
What are the quality requirements of automobile gear
Commonly used automobile gear materials are alloy steel, carbon steel, stainless steel, and so on.
High precision is essential for automotive gear. The gear module, tooth count, tooth form, tooth pitch, and other factors all contribute to the precision of automotive gear. The transmission efficiency and gear noise are directly impacted by the correctness of these characteristics. As a result, automotive gears have very high manufacturing accuracy, typically within 0.01mm.
Automotive gear must have high surface quality. Surface finish, surface hardness, surface roughness, and other characteristics make up the surface quality of automotive equipment. The service life and transmission effectiveness of the gear is directly impacted by the quality of these characteristics. Since the surface finish must typically be within Ra0.4 m and the surface hardness must be between HRC58 to HRC62, the standards for the surface quality of automobile gears are highly strict.
Gears automotive must meet strict heat treatment criteria. In the process of use, automobile gear will be subjected to greater load and friction, which makes it easy to produce fatigue cracks and deformation. Therefore, automotive gears need to be heat treated to improve their strength and wear resistance. Commonly used heat treatment methods are quenching, tempering, carburizing, and so on.
Automotive gears must meet extremely high-quality standards, including materials, precision, surface quality, and heat treatment. Only by meeting these requirements can the performance and safety of automotive gears be guaranteed. Therefore, in the production and use of automotive gears, it is necessary to strictly control the quality to ensure that the quality of the gear meets the requirements
High performance specialty automotive gears
Yes, this is a routine operation for most companies before making an inquiry.
We have metal 3D printing equipment and can provide sample 3D printing.
3D drawings allow engineers to better understand the structure of the product, and 2D documents can provide more information, including materials, tolerances, surface treatment, etc. More detailed information is conducive to more accurate quotation by engineers.
In the case of detailed inquiry drawings and information, it usually only takes 2-3 days for us to give you a detailed quotation, including product price and mold price.
After confirming the order, we usually take 5-7 days to prepare the DFM report of the product. After confirmation, we spend 25 days to complete the mold, and provide T1 samples to customers for testing in the following 10-15 days.
If there is a problem with the test, we will re-sample it for free based on the feedback and provide a suitable sample.
MIM products MOQ 2000 PCS,
CNC products MOQ 2000 PCS,
Alu die casting, MOQ 2000 PCS
PM product MOQ 5000 PCS
Typically, the lead time for processing and submitting samples is 30 days. However, according to the order quantity and special requirements of customers, we can extend or shorten the delivery cycle accordingly.
1-year product warranty
World-class testing equipment
30+QC Workers
Key sizes 100% checking before shipment
ISO9001+IATF16949
Due to the size limitations of the mold and sintering furnace, and the control of sintering shrinkage, MIM usually produces parts weight less than 100g.
The largest mass-produced product made by JH MIM is 286g. However, the cost advantage of MIM for products that are too large is not great. Our engineers will recommend the most appropriate processing method based on your drawings.
Yes, MIM parts can be, blackened, galvanized, chromed and PVD.
Usually T/T is used as the payment method
Mold: 50% deposit, 50% payment after confirming the sample.
Bulk production: 30% deposit, 30% see bill of lading Copy, pay 70% balance.


